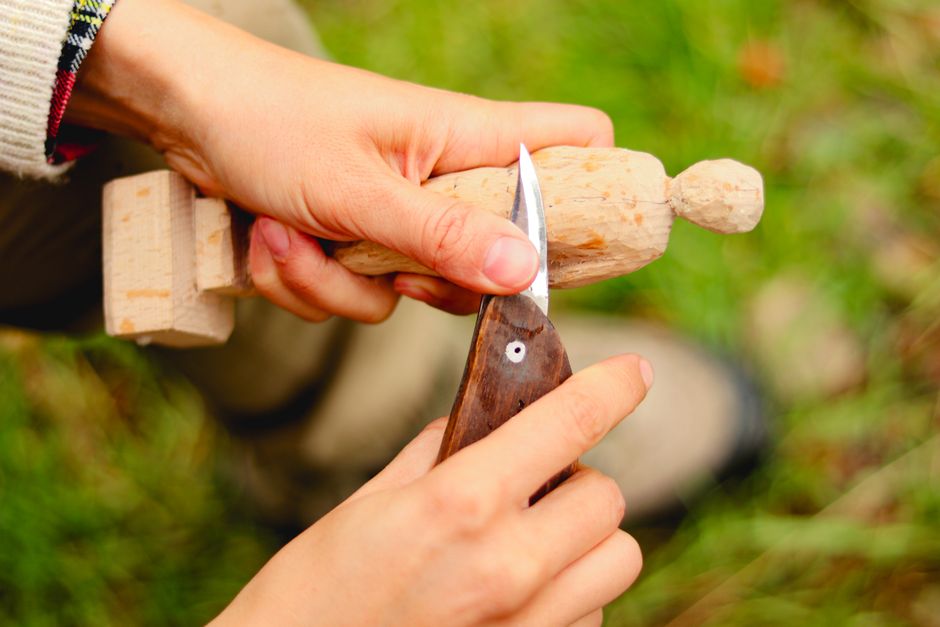
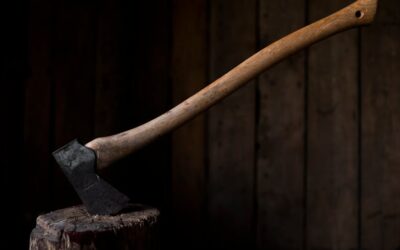
What Is Stropping and Why Does Your BeaverCraft Whittling Knife Need It?
Stropping is a honing technique that realigns and polishes the microscopic edge of your blade without removing significant metal. Unlike sharpening, which uses abrasive stones, stropping uses a leather strop and fine abrasive compound to maintain edge geometry. Your BeaverCraft whittling knife stays sharper longer and cuts cleaner wood fibers when stropped regularly. Most carvers strop before each session—it takes two minutes and extends blade life dramatically. Professional woodcarvers consider stropping as essential as sharpening itself.
BeaverCraft knives arrive factory-sharp, but they dull through normal use. Wood fibers bend the blade’s microscopic teeth sideways. Stropping realigns these teeth without flattening the edge. Regular stropping prevents the need for frequent aggressive sharpening. You’ll notice cleaner cuts, less tear-out, and reduced hand fatigue during carving sessions. Think of stropping as preventive maintenance for your most important tool.
Key Takeaway: Stropping maintains your BeaverCraft knife’s edge between sharpenings, keeping it carving-ready with minimal effort.
What Equipment Do You Need to Strop a BeaverCraft Whittling Knife?
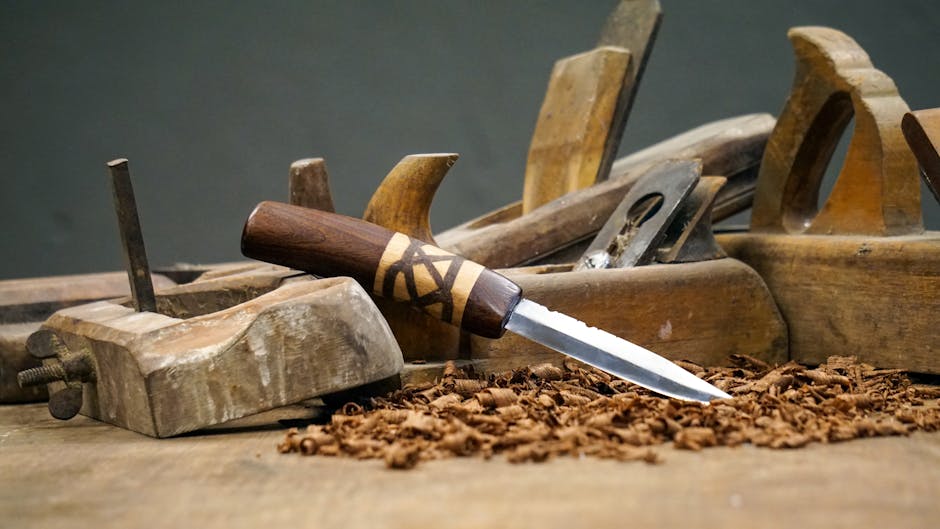
You need three essential items: a leather strop, stropping compound, and your BeaverCraft knife. A leather strop is a flat strip of leather (usually 2–3 inches wide and 10–12 inches long) mounted on wood or canvas backing. Most stropping compounds contain chromium oxide or similar fine abrasives mixed with grease. You can purchase pre-made stropping kits or assemble components separately.
Quality matters, but you don’t need expensive equipment. A basic leather strop costs ten to twenty dollars. Premium stropping compounds run five to fifteen dollars per stick. BeaverCraft offers stropping accessories compatible with their knife lines. If you carve regularly, investing in a dedicated strop pays dividends within weeks.
- Leather strop (2–3 inches wide, mounted on backing)
- Stropping compound (chromium oxide or similar abrasive)
- Your BeaverCraft whittling knife
- Optional: magnifying glass to inspect edge alignment
- Optional: stropping guide jig for consistent angle
Key Takeaway: You need only a leather strop, stropping compound, and your knife to begin stropping immediately.
How Do You Apply Stropping Compound to Your Strop?
Applying compound correctly ensures optimal results. Use a fresh stropping compound stick or bar. Draw the compound across the leather surface in light, even strokes. You need only a thin, barely visible coating. Over-applying wastes compound and creates messy buildup that reduces effectiveness. Most carvers apply compound once every five to ten stropping sessions.
Step-by-Step Compound Application
Start with a clean, dry leather strop. Hold the compound stick at a shallow angle (about 20 degrees). Drag it slowly across the full length of the leather from one end to the other. Make three to five passes, covering the entire surface evenly. The leather should look slightly darker but not glossy or wet. If you see visible buildup, you’ve applied too much.
- Use light, even pressure—don’t scrub or press hard
- Apply compound in one direction across the strop
- Reapply compound every 5–10 stropping sessions
- Clean excess compound with a soft cloth if needed
Key Takeaway: Apply stropping compound sparingly with light, even strokes across the leather surface.
What Is the Correct Stropping Angle for Your BeaverCraft Knife?
Angle determines stropping effectiveness. Most BeaverCraft whittling knives ship with edges between 15 and 20 degrees per side (30–40 degrees total). Maintain this factory angle during stropping. If you don’t know your knife’s exact angle, aim for 15–18 degrees per side—a safe range for most carving blades. Consistency matters more than perfection. Stropping at the wrong angle won’t damage the edge but reduces effectiveness.
Finding and Maintaining Your Knife’s Angle
Check your BeaverCraft documentation or manufacturer website for the exact edge angle. If unavailable, use the “ruler test.” Place a ruler under the blade’s spine. Adjust the blade until it touches the ruler at the spine and edge simultaneously. This position approximates your knife’s factory angle. Mark this angle mentally or with tape on your stropping jig. Replicate it consistently during each stropping stroke.
- BeaverCraft typical angle: 15–18 degrees per side
- Check manufacturer specs for your specific model
- Use the ruler test if specs aren’t available
- Mark your stropping jig with tape for reference
- Maintain the same angle on every stroke
Key Takeaway: Maintain your BeaverCraft knife’s factory angle (typically 15–18 degrees per side) consistently during stropping.
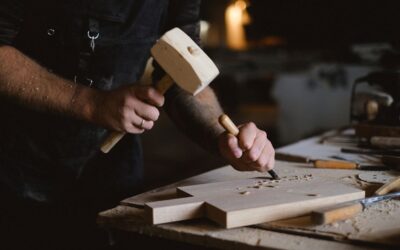
How Do You Execute the Stropping Motion Correctly?
The stropping motion is the reverse of sharpening. When sharpening on stones, you push the blade forward (edge leading). When stropping, you pull the blade backward (spine leading). This direction prevents the leather from catching the edge and causing damage. The motion is smooth, controlled, and deliberate. Speed matters less than consistency and proper angle maintenance.

The Step-by-Step Stropping Technique
Position the knife’s spine on the leather first. The edge should be angled away from the strop initially. Draw the knife toward you slowly, maintaining consistent angle and pressure. When the blade reaches the bottom of the strop, lift it carefully and reposition at the top. Never slide the blade forward or sideways—always pull toward you. Complete ten to fifteen passes per side, then flip and repeat on the other side.
- Place spine on strop first, edge angled away
- Pull the knife toward you smoothly and slowly
- Maintain steady pressure throughout the stroke
- Lift the blade at the strop’s end, don’t flip it
- Complete 10–15 passes per side
- Flip the knife and repeat on the opposite side
Key Takeaway: Pull your BeaverCraft knife toward you along the strop, maintaining consistent angle and pressure for optimal edge realignment.
How Often Should You Strop Your BeaverCraft Whittling Knife?
Stropping frequency depends on carving intensity. Casual carvers strop once per week or every few sessions. Regular carvers strop before each carving session (2–5 minutes total). Professional carvers may strop multiple times daily between projects. The rule is simple: strop when cuts become noticeably less clean or require more pressure. Most carvers develop a habit of stropping as a warm-up ritual.
Stropping is so quick and gentle that over-stropping is nearly impossible. You cannot damage your blade by stropping too frequently. Some carvers strop after every project. Others strop weekly regardless of usage. Find the frequency that keeps your knife performing at its peak. Your hands and wood will tell you when stropping is needed—cuts become ragged or require excessive pressure.
- Casual carvers: once per week
- Regular carvers: before each carving session
- Professional carvers: multiple times daily as needed
- Emergency stropping: when cuts become noticeably duller
- Over-stropping is virtually impossible—strop freely
Key Takeaway: Strop your BeaverCraft knife before each carving session or weekly, depending on usage intensity.
What Are Common Stropping Mistakes to Avoid?
Beginners often make predictable errors. The most common mistake is stropping forward (spine first) instead of backward. This catches the edge on the leather and can damage it. Another mistake is applying too much stropping compound. Excess buildup reduces effectiveness and wastes material. Inconsistent angles also reduce results—drifting angles prevent proper edge realignment. Finally, using a strop with dried-out or cracked leather reduces performance.
Avoid pressing too hard during stropping. Light, gentle pressure is ideal. Heavy pressure doesn’t improve results and can compress the leather prematurely. Never strop a blade that’s already damaged or has chips. Stropping maintains sharp edges; it doesn’t repair damage. For damaged blades, use sharpening stones first, then strop. If your strop’s leather cracks or hardens, replace it—a worn strop won’t perform well.
- Never strop forward (spine first)—always pull backward
- Don’t apply excessive stropping compound
- Maintain consistent angle on every stroke
- Use light pressure, not heavy pressure
- Don’t strop damaged or chipped blades
- Replace worn or cracked leather strops
Key Takeaway: Avoid stropping forward, over-applying compound, inconsistent angles, and heavy pressure to maintain blade integrity.
How Does Stropping Compare to Sharpening Your BeaverCraft Knife?
Stropping and sharpening are complementary, not interchangeable. Stropping realigns the edge and removes minimal metal—it’s maintenance. Sharpening removes metal to create a new edge—it’s restoration. You strop frequently (weekly or daily) to maintain sharpness. You sharpen occasionally (monthly or quarterly) when stropping alone no longer restores performance. Think of stropping as brushing your teeth; sharpening is a dental cleaning.
BeaverCraft knives stay sharp longer with regular stropping. Many carvers sharpen only once or twice yearly if they strop consistently. Without stropping, you’d sharpen monthly or more frequently. Stropping extends the interval between sharpenings significantly. For cost and convenience, stropping is the better maintenance routine. If you haven’t invested in sharpening stones yet, start with stropping—it’s cheaper and easier.
- Stropping: realigns edge, removes minimal metal, frequent maintenance
- Sharpening: removes metal, creates new edge, occasional restoration
- Strop weekly or daily; sharpen monthly or quarterly
- Regular stropping extends time between sharpenings
- Stropping is cheaper and easier than sharpening
Key Takeaway: Stropping maintains sharpness between sharpenings; combine both techniques for optimal blade performance.
What Practical Tips Improve Your Stropping Results?
Actionable Steps for Better Stropping
Create a consistent stropping routine. Designate a specific location and time for stropping—before each carving session is ideal. Use a stropping guide jig to maintain consistent angle without thinking about it. These jigs cost fifteen to thirty dollars and remove angle guesswork. Mark your strop with tape at the angle you need. Keep your strop in a clean, dry location away from dust and moisture.
Inspect your blade under magnification occasionally. A jeweler’s loupe or smartphone macro lens reveals edge alignment. Properly stropped edges appear straight and reflective. Misaligned edges show visible wobbles or dull spots. If you see misalignment, adjust your stropping angle slightly. Take photos of your best stropping results for reference. Build muscle memory by stropping the same way every time.
- Establish a consistent pre-carving stropping routine
- Use a stropping guide jig for angle consistency
- Mark your strop with tape at your knife’s angle
- Inspect edges under magnification monthly
- Keep your strop clean and dry
- Document your technique with photos for reference
- Practice the same motion until it becomes automatic
Key Takeaway: Establish a consistent routine, use guide jigs, and inspect edges regularly to maximize stropping effectiveness.
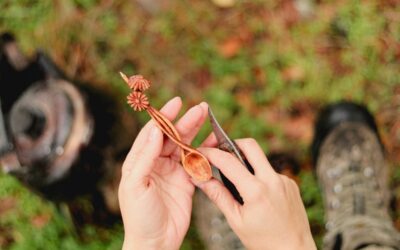
Can You Strop Other Carving Tools Besides Your BeaverCraft Knife?
Yes, stropping works on most carving tools. Gouges, V-tools, and chip carving knives all benefit from stropping. However, curved or complex-shaped tools require different stropping techniques. Flat blades like your BeaverCraft whittling knife are easiest to strop. For curved tools, specialized stropping jigs or leather formers help maintain proper angles. The same stropping compound and leather work for all carving tools.
If you carve with multiple BeaverCraft tools, consider a stropping station. Organize your strop, compound, and jigs in one location. Strop all your tools before each carving session. This approach keeps your entire tool collection sharp and ready. Many carvers who use BeaverCraft sets appreciate having all tools stropped simultaneously. It’s faster than stropping individual tools throughout the day.
Key Takeaway: Stropping techniques apply to most carving tools, though curved tools require specialized jigs or techniques.
What Should You Do After Stropping Your BeaverCraft Knife?
After stropping, wipe your blade clean with a soft cloth. Stropping compound residue can attract dust and dirt. A quick wipe removes excess compound and reveals the polished edge. Inspect the blade in good light—it should look shiny and reflect light evenly. Store your knife in a blade guard or sheath immediately. Never leave stropped blades exposed where they might contact other metal or hard surfaces.
Document your stropping in a maintenance log if you’re detail-oriented. Note the date, number of passes, and any blade performance observations. Over time, this log reveals your stropping frequency needs. Some carvers photograph their edges after stropping to track edge quality. These practices help you refine your technique and optimize your routine.
- Wipe the blade clean with a soft cloth
- Inspect the edge in good light
- Store the knife immediately in a guard or sheath
- Keep a maintenance log (optional but helpful)
- Take edge photos for quality tracking
Key Takeaway: Clean your blade after stropping, inspect it, and store it safely to preserve the fresh edge.
How Does Your BeaverCraft Knife Model Affect Stropping Technique?
Different BeaverCraft knife models have slightly different edge angles and blade geometries. The BeaverCraft S01 and S02 spoon carving sets, for example, include curved blades requiring modified stropping techniques. Straight-blade whittling knives are easiest to strop. Check your specific model’s documentation for recommended angles and stropping methods. BeaverCraft publishes detailed care guides for each product line.
If you own multiple BeaverCraft knives, learn each model’s requirements. Curved blades need leather stropping guides or curved stropping surfaces. Straight blades work on standard flat strops. The stropping compound and frequency remain the same across models. Your stropping station can accommodate all BeaverCraft tools if you organize it thoughtfully. Consider reading BeaverCraft’s official care guides—they provide model-specific stropping advice.
Key Takeaway: Check your specific BeaverCraft model’s documentation for angle specifications and model-specific stropping requirements.
Can You Make Your Own Stropping Leather and Compound?
You can make a basic stropping setup with materials from hardware or craft stores. A leather belt or scrap leather glued to a wooden backing works as a strop. However, commercial stropping leather is specifically tanned and treated for carving tools—homemade alternatives may not perform as well. Stropping compound is harder to make effectively. Commercial compounds contain precisely formulated abrasives and binders. DIY attempts rarely match commercial quality.
For beginners, purchasing a complete stropping kit makes more sense. Pre-made kits cost twenty to forty dollars and include everything needed. They’re reliable, convenient, and backed by manufacturer support. If you carve seriously, invest in quality equipment. The cost is minimal compared to purchasing replacement knives. Many carvers use the same strop for years, making the initial investment worthwhile.
Key Takeaway: While DIY stropping setups are possible, commercial kits offer better reliability and performance for the minimal cost.
Is Stropping Your BeaverCraft Knife Worth the Time Investment?
Absolutely. Stropping takes two to five minutes per session. In return, your BeaverCraft knife stays sharp longer, cuts cleaner, and requires less aggressive sharpening. You’ll carve with less hand fatigue and achieve better results. The time investment is trivial compared to the performance gains. Professional carvers consider stropping non-negotiable maintenance. If you’re serious about carving, stropping is essential.
Consider the alternative: carving with a dull blade. You’ll press harder, make mistakes, fatigue faster, and produce lower-quality work. Stropping prevents all these problems. The two minutes you invest in stropping saves you time during actual carving by reducing pressure needed and mistakes made. It’s preventive maintenance that pays dividends. Once you establish a stropping habit, you’ll wonder how you ever carved without it.
Key Takeaway: Stropping’s minimal time investment (2–5 minutes) delivers enormous returns in blade sharpness, carving quality, and reduced fatigue.
How Should You Conclude Your Stropping Session?
After stropping and cleaning your blade, store your strop and compound properly. Keep your strop in a clean, dry drawer or cabinet. Stropping leather can crack or dry out if exposed to extreme heat or humidity. Store compound sticks in their original packaging or a sealed container. A well-maintained strop lasts years; poor storage shortens its lifespan significantly. Some carvers store their strop in a dedicated wooden box or case.
Before you begin carving, test your freshly stropped blade on scrap wood. Make a few test cuts to confirm sharpness. You should notice cleaner cuts with minimal pressure required. If cuts still feel dull, strop again or switch to sharpening stones. Most carvers find one stropping session sufficient for weeks of regular carving. Your blade should feel noticeably sharper after proper stropping. This confidence in your tool’s readiness marks a successful stropping session.
Key Takeaway: Store your stropping equipment properly, test your blade on scrap wood, and begin carving with confidence in your tool’s sharpness.
What Resources Help You Master Stropping Your BeaverCraft Knife?
BeaverCraft publishes official stropping guides on their website and in product documentation. YouTube contains numerous stropping tutorials from experienced carvers. Woodcarving forums and communities share stropping techniques and recommendations. Books on tool maintenance often include stropping chapters. The Flexcut vs BeaverCraft Wood Carving Tools comparison guide discusses maintenance practices for both brands. Learning from multiple sources helps you refine your technique.
Consider joining local woodcarving clubs or online communities. Experienced carvers often share stropping tips and answer questions. Watching others strop teaches you nuances that written guides sometimes miss. If you own a BeaverCraft spoon carving set, the BeaverCraft S01 vs S02 comparison includes stropping recommendations for set-specific tools. Building relationships with other carvers accelerates your learning curve significantly.
Key Takeaway: Consult official BeaverCraft guides, online tutorials, woodcarving communities, and experienced carvers to master stropping techniques.
Conclusion: Why Stropping Your BeaverCraft Whittling Knife Matters
Stropping is the simplest, most effective way to maintain your BeaverCraft whittling knife’s sharpness. The technique is straightforward: apply stropping compound to leather, pull your blade backward at the correct angle, and complete 10–15 passes per side. This five-minute ritual keeps your blade carving-ready for weeks. Stropping prevents the need for frequent aggressive sharpening and extends your knife’s lifespan dramatically. For any carver serious about their craft, stropping is non-negotiable maintenance.
Start stropping today if you haven’t already. Invest in a basic stropping kit (twenty to forty dollars) and establish a pre-carving stropping routine. Within a week, you’ll notice cleaner cuts, reduced hand fatigue, and improved carving quality. Your BeaverCraft knife will perform at its peak consistently. Once stropping becomes habit, you’ll maintain superior blade sharpness effortlessly. The combination of regular stropping and occasional sharpening keeps your carving tools in professional condition for years. Your future self will thank you for establishing this simple, powerful maintenance practice.
Key Takeaway: Stropping is essential maintenance that keeps your BeaverCraft knife sharp, reduces fatigue, and improves carving quality with minimal time investment.
Write Your Review
No reviews yet. Be the first to share your experience!